

1
Pick One-shot
The workspace start page opens on Clone, which needs photos. For a first model switch to One-shot and leave Prompt selected in the row below the box.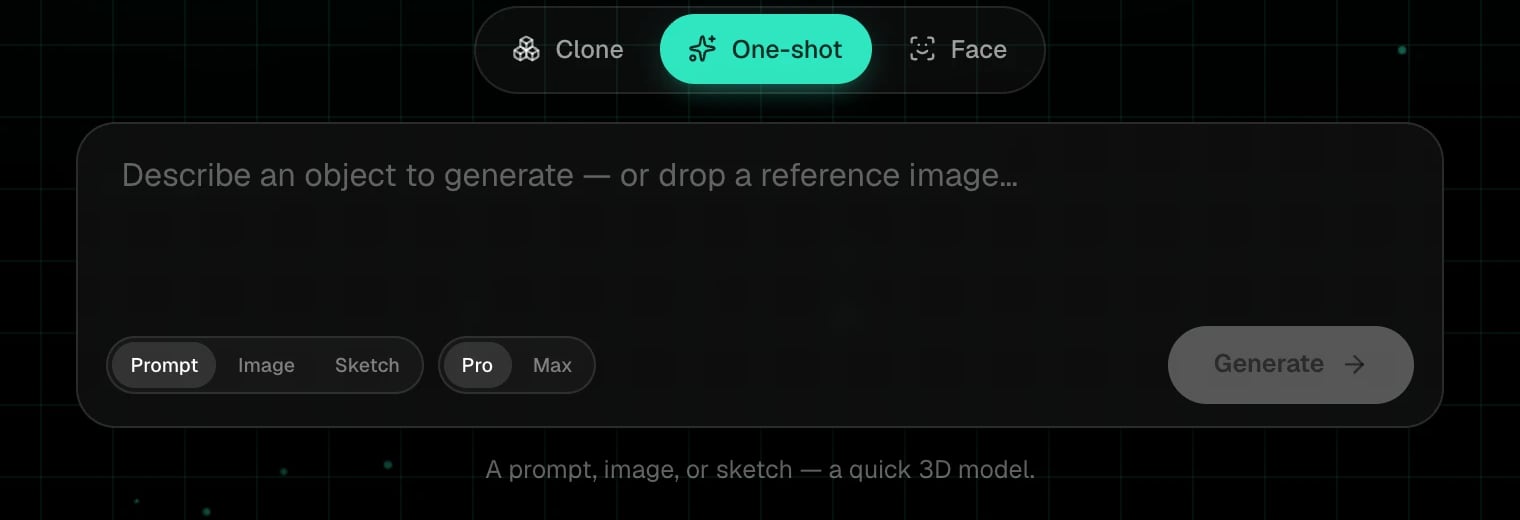
2
Describe one object
A weathered brass compass with a hinged lid works better than a pirate’s desk. One object per model. Materials, colours and age words help.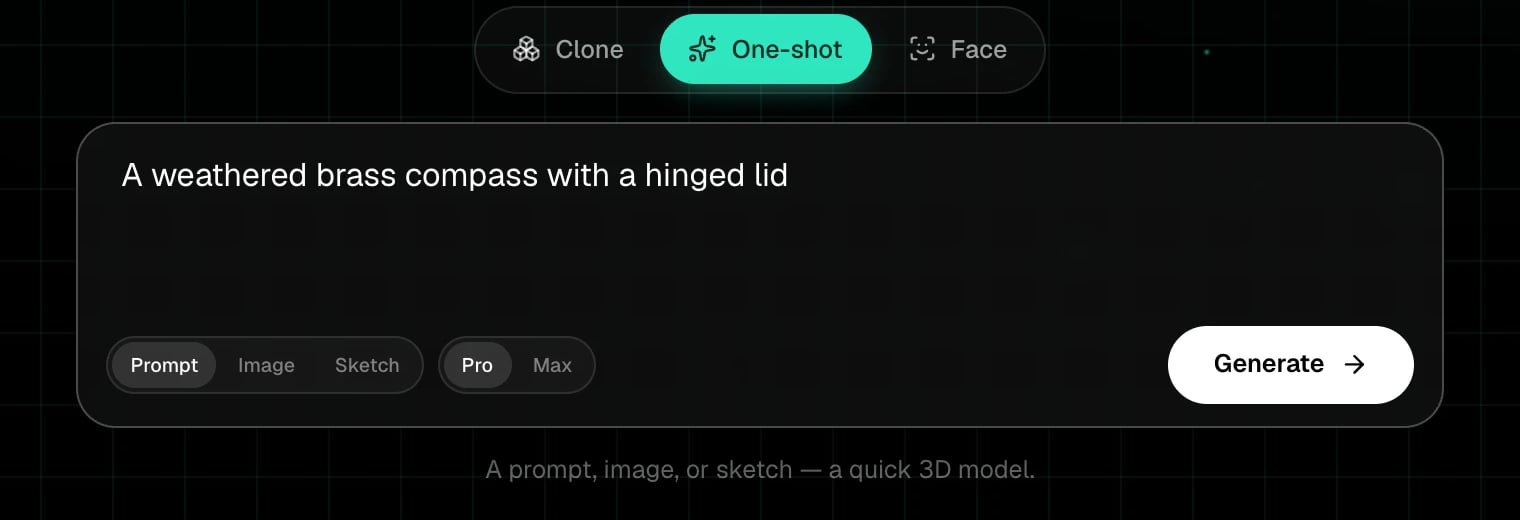
3
Keep Pro, then Generate
Pro is the high-quality, fastest tier. Max is slower and pushes fidelity further. Leave Pro selected and click Generate.
4
Watch it build
A progress card shows the phases: Prepare, Concept art, Build 3D model, Done. You can close it, it keeps working, and the card in My spins keeps updating. A One-shot usually takes a few minutes.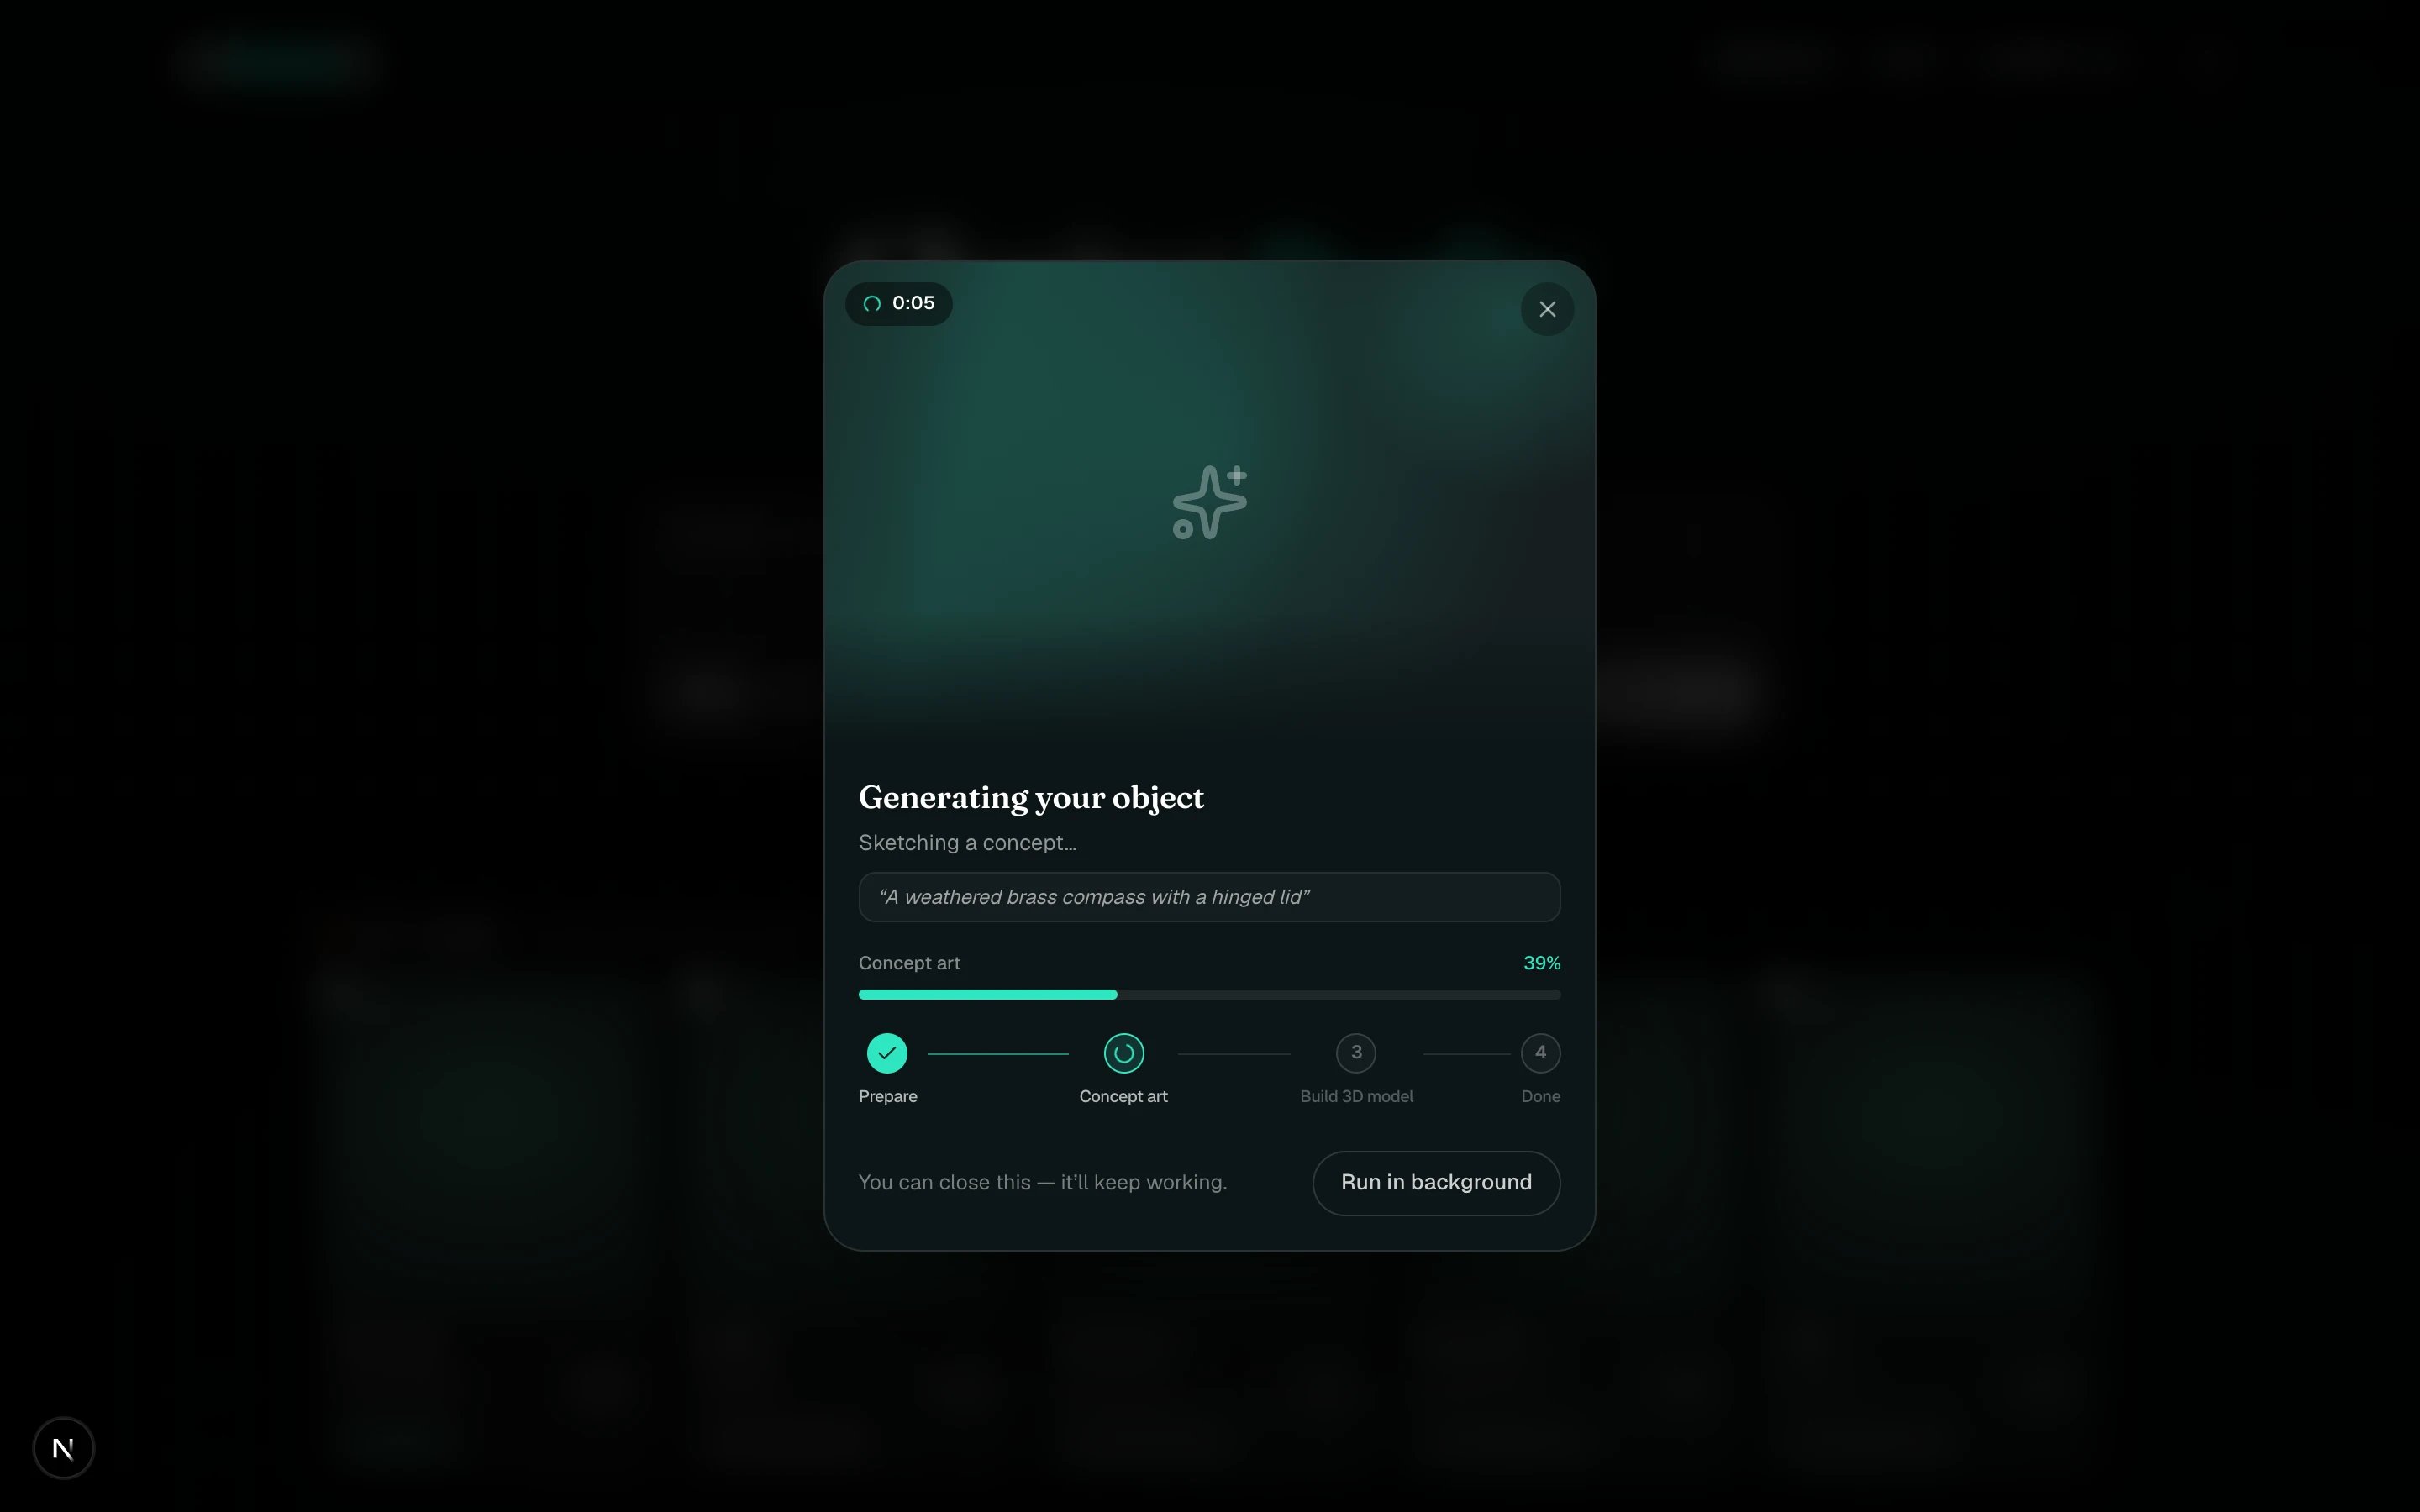
5
Open it
When the card shows the 3D badge, click it. Drag to orbit, scroll to zoom, and switch between Textured, Sculpt and Wireframe to inspect the mesh.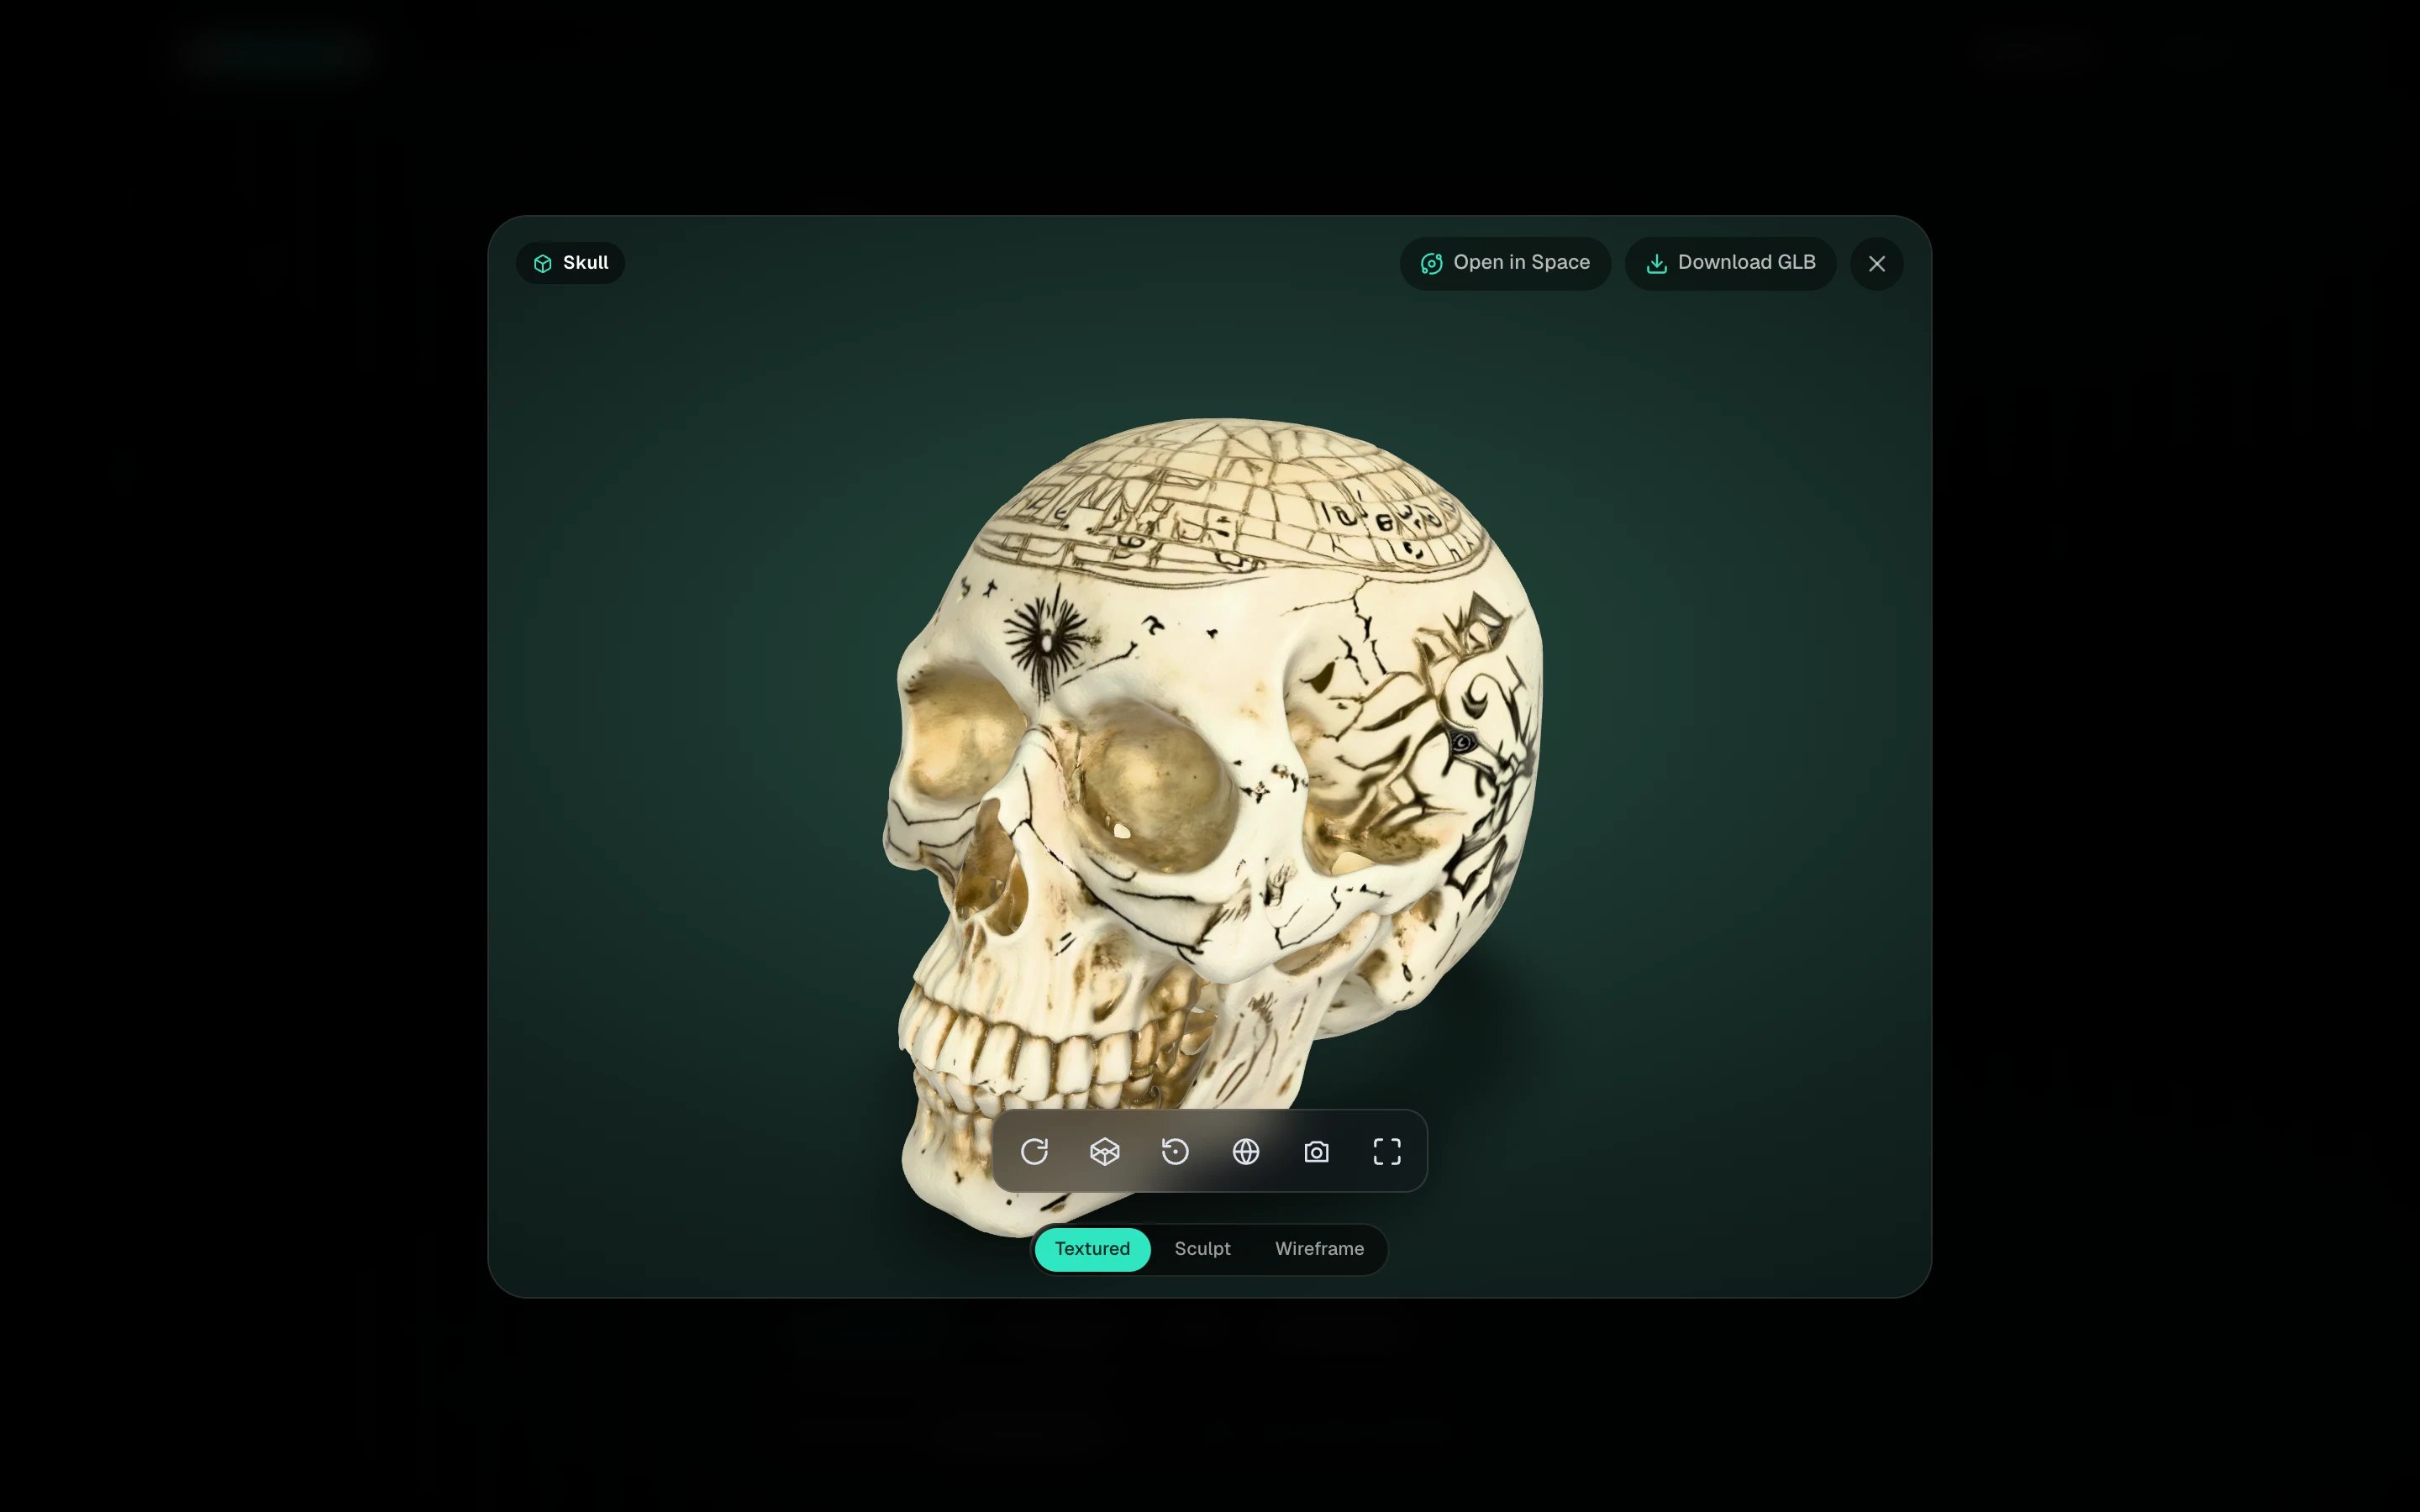
.glb you can download, open in Space, send to Blender, or publish.
Next steps
Workspace basics
The mode switch, the credits pill, My spins and My Community.
Clone from photos
A few angles of a real object in, an exact 3D twin out.
Space basics
Clean quads, texture repair, view modes and lighting.
Credits
What each action costs and how to get more.