> ## Documentation Index
> Fetch the complete documentation index at: https://help.unrealizex.com/llms.txt
> Use this file to discover all available pages before exploring further.
# Face from a portrait
> One clear portrait photo in, a textured and rigged 3D head out
 Face costs 3 credits and takes a few minutes.
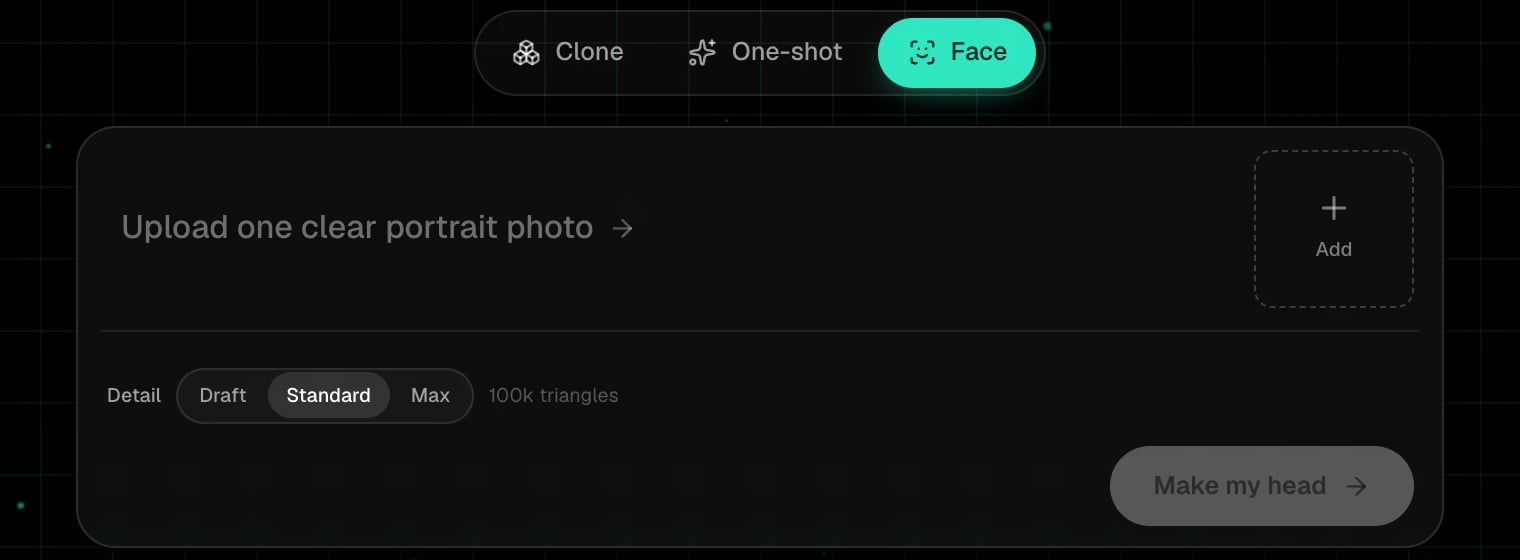
On the start page, choose **Face** in the mode switch.
Click **Add** and pick a single, front-facing photo with the whole face visible, even light, no sunglasses. The slot holds one photo; a new pick replaces it.
**Draft**, **Standard** or **Max**. The number beside it is the triangle budget of the head you get back. Standard is the default and right for most uses.
The phases are **Prepare**, **Analyze**, **Mesh**, **Texture**, **Refine**, **Done**. The card in My spins shows a **3D** badge when it is finished.
A head is a normal asset afterwards. Open it in the viewer, download the GLB, or send it to Blender like anything else.
Face costs 3 credits and takes a few minutes.
On the start page, choose **Face** in the mode switch.
Click **Add** and pick a single, front-facing photo with the whole face visible, even light, no sunglasses. The slot holds one photo; a new pick replaces it.
**Draft**, **Standard** or **Max**. The number beside it is the triangle budget of the head you get back. Standard is the default and right for most uses.
The phases are **Prepare**, **Analyze**, **Mesh**, **Texture**, **Refine**, **Done**. The card in My spins shows a **3D** badge when it is finished.
A head is a normal asset afterwards. Open it in the viewer, download the GLB, or send it to Blender like anything else.